When it comes to creating beautiful embroidery designs, understanding and mastering stitch types is essential. Hatch Embroidery software offers a wide range of stitch types that can bring your creative visions to life with precision and flair. Whether you’re a beginner or a seasoned embroiderer, knowing how to effectively use these stitch types can make all the difference in your projects. To ensure that your designs are digitized to perfection, consider using Digitizing Buddy’s custom digitizing services. Their expertise ensures that your stitch types are optimized for the best possible results, helping you achieve professional-quality embroidery every time.
Introduction to Hatch Embroidery
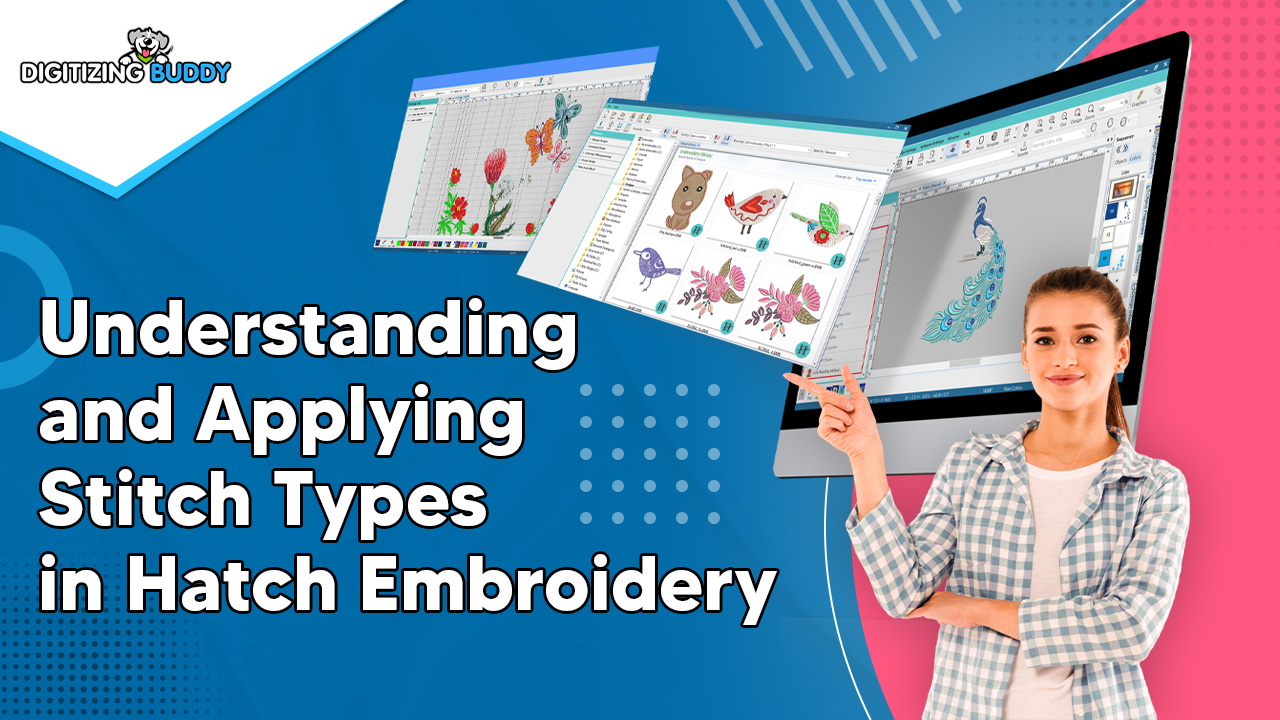
What is Hatch Embroidery?
Hatch Embroidery is a powerful software designed for both novice and experienced embroiderers. It offers a comprehensive suite of tools for creating, editing, and personalizing embroidery designs. The software is known for its user-friendly interface, making it easy for users to explore and utilize a variety of stitch types and design features.
Why Stitch Types Matter
Stitch types are the foundation of any embroidery design. They determine the texture, appearance, and overall quality of the final product. Each stitch type serves a specific purpose and can be used to achieve different effects, from subtle shading to bold outlines. Mastering these stitch types allows you to add depth and dimension to your designs, making them stand out.
Importance of Custom Digitizing
While Hatch Embroidery provides a wealth of options for creating designs, the quality of the final product often depends on how well the design is digitized. Digitizing Buddy offers custom digitizing services that ensure your designs are perfectly suited for embroidery, with the right stitch types and settings to achieve flawless results.
Overview of Common Stitch Types in Hatch Embroidery
1. Satin Stitch
What is Satin Stitch?
The Satin Stitch is one of the most commonly used stitch types in embroidery. It creates a smooth, shiny surface that is perfect for outlines, lettering, and small fill areas.
Applications of Satin Stitch
Satin Stitch is ideal for creating text, borders, and outlines in your designs. It provides a clean and polished look, making it perfect for logos and monograms. The stitch length and width can be adjusted to achieve the desired effect, from narrow lines to broader, more prominent features.
Tips for Using Satin Stitch
- Avoid Overlapping: When using Satin Stitch for large areas, avoid overlapping stitches to prevent a bulky appearance.
- Maintain Consistency: Ensure that the stitch length remains consistent throughout to achieve a smooth finish.
- Test on Fabric: Always test your Satin Stitch on a scrap piece of fabric to ensure the tension and density are correct.
2. Fill Stitch (Tatami Stitch)
What is Fill Stitch?
Fill Stitch, also known as Tatami Stitch, is used to cover large areas with a uniform pattern. It consists of multiple rows of stitches that create a solid, textured surface.
Applications of Fill Stitch
Fill Stitch is commonly used for filling in larger design elements, such as backgrounds, shapes, and motifs. It can be used to create a variety of textures depending on the stitch direction and density. This stitch type is versatile and can be customized to achieve different visual effects.
Tips for Using Fill Stitch
- Vary Stitch Direction: Change the stitch direction to add interest and texture to your designs.
- Adjust Density: Experiment with stitch density to create different effects, from light and airy to dense and solid.
- Combine with Other Stitches: Use Fill Stitch in combination with Satin or Running Stitches to add depth and contrast to your designs.
3. Running Stitch
What is Running Stitch?
Running Stitch is a simple, straight stitch that is often used for outlining and detailing. It creates a dashed line effect and can be adjusted in length and spacing.
Applications of Running Stitch
Running Stitch is versatile and can be used for outlining, detailing, and adding fine lines to your designs. It is also commonly used for underlay stitching, providing a foundation for other stitch types.
Tips for Using Running Stitch
- Experiment with Spacing: Adjust the spacing between stitches to create different effects, from delicate outlines to bold lines.
- Use for Detail Work: Running Stitch is ideal for adding intricate details and accents to your designs.
- Combine with Fill Stitch: Use Running Stitch to outline areas filled with Fill Stitch for a clean and defined look.
4. Backstitch
What is Backstitch?
Backstitch is similar to Running Stitch but creates a continuous line without gaps. It is achieved by stitching backward over the previous stitch, creating a solid line.
Applications of Backstitch
Backstitch is perfect for creating strong, continuous outlines and for adding detail to designs where precision is required. It is also used for stitching lettering and fine lines.
Tips for Using Backstitch
- Ensure Consistency: Keep the stitch length consistent to maintain a clean line.
- Use for Small Text: Backstitch is ideal for small text and detailed outlines where precision is key.
- Pair with Satin Stitch: Use Backstitch alongside Satin Stitch to add extra emphasis to outlines and borders.
5. Stem Stitch
What is Stem Stitch?
Stem Stitch is a decorative stitch that creates a rope-like effect. It is commonly used for outlining and adding texture to designs.
Applications of Stem Stitch
Stem Stitch is often used for floral designs, vines, and decorative borders. Its unique texture makes it perfect for adding dimension and interest to your embroidery projects.
Tips for Using Stem Stitch
- Create Curves: Stem Stitch works well for creating curves and flowing lines.
- Vary Thickness: Adjust the thickness of the stitch by using different thread weights or combining multiple threads.
- Use for Decorative Effects: Incorporate Stem Stitch into decorative elements for a textured, hand-stitched look.
Advanced Stitch Types in Hatch Embroidery
1. Motif Fill Stitch
What is Motif Fill Stitch?
Motif Fill Stitch is a decorative fill stitch that uses repeating patterns or motifs to cover large areas. This stitch type allows for creative expression by incorporating unique patterns into your designs.
Applications of Motif Fill Stitch
Motif Fill Stitch is ideal for creating patterned backgrounds, textured fills, and decorative elements. It adds a layer of complexity and creativity to your embroidery projects.
Tips for Using Motif Fill Stitch
- Choose the Right Motif: Select a motif that complements your design and fabric type.
- Adjust Scale: Experiment with the scale of the motif to achieve the desired effect.
- Combine with Solid Fills: Use Motif Fill Stitch alongside solid Fill Stitches to create contrast and interest.
2. Appliqué Stitch
What is Appliqué Stitch?
Appliqué Stitch is used to attach fabric pieces to a base fabric, creating layered designs. This stitch type is often used in combination with other stitches to secure and embellish the appliqué.
Applications of Appliqué Stitch
Appliqué Stitch is commonly used in quilt making, garment decoration, and creative embroidery projects. It allows for the incorporation of different fabrics, textures, and colors into a single design.
Tips for Using Appliqué Stitch
- Use Matching Thread: Choose a thread color that matches the appliqué fabric for a seamless look.
- Secure Edges: Ensure the edges of the appliqué fabric are securely stitched to prevent fraying.
- Combine with Decorative Stitches: Add decorative stitches, such as Satin or Stem Stitch, to embellish the appliqué edges.
3. Cross Stitch
What is Cross Stitch?
Cross Stitch is a traditional stitch type that forms X-shaped stitches on the fabric. It is often used to create pixelated designs and patterns.
Applications of Cross Stitch
Cross Stitch is popular in both hand and machine embroidery. It is commonly used for creating detailed, pixel-like designs, monograms, and borders.
Tips for Using Cross Stitch
- Plan Your Design: Ensure your design is suitable for Cross Stitch by using a grid-based pattern.
- Keep Stitches Consistent: Maintain consistent stitch size and spacing for a neat and uniform appearance.
- Combine with Other Techniques: Use Cross Stitch alongside other stitch types for a mixed-media embroidery effect.
Conclusion
Mastering the various stitch types in Hatch Embroidery is key to creating beautiful and professional-quality designs. Whether you’re working with Satin Stitch for elegant outlines, Fill Stitch for solid areas, or more advanced techniques like Motif Fill or Appliqué, each stitch type offers unique possibilities for your embroidery projects. To ensure that your designs are perfectly digitized for these stitch types, consider using Digitizing Buddy’s custom digitizing services. Their expertise in digitizing ensures that your designs are optimized for the best possible results. Allowing you to focus on bringing your creative ideas to life with confidence and precision.